How to create Flowchart diagram in MermaidJS
1. Install MermaidJS
You can install MermaidJS by including the MermaidJS library in your project or by installing it via npm.
2. Define the diagram
To create a flowchart, you first need to define the diagram using MermaidJS syntax. Start the definition with flowchart followed by a direction keyword: TD (top-down) or LR (left-right).
In this example, we define a rounded Start node, a diamond-shaped decision node is successful, a rounded End node, and a cylinder-shaped Database node, connected by labeled arrows.
3. Node shapes
MermaidJS flowcharts support several node shapes, each with its own bracket syntax:
| Shape | Syntax | Preview |
|---|---|---|
| Rectangle | id[Label] | 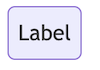 |
| Rounded / circle | id((Start)) | 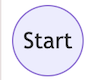 |
| Double-circle (end) | id((End)) | 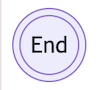 |
| Diamond (decision) | id{is successful} | 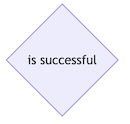 |
| Cylinder (database) | id[(Database)] | 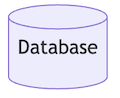 |
4. Direction: top-down vs left-right
The direction keyword right after flowchart controls the overall layout:
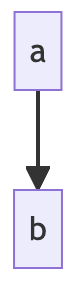
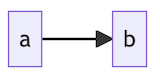
5. Render the diagram
Once you have defined the diagram, you can render it on your webpage by including the MermaidJS library and calling the mermaid function with the diagram definition as a string. Here is an example of how to do this
You can use this MermaidJS Playground Link to explore that particular example.